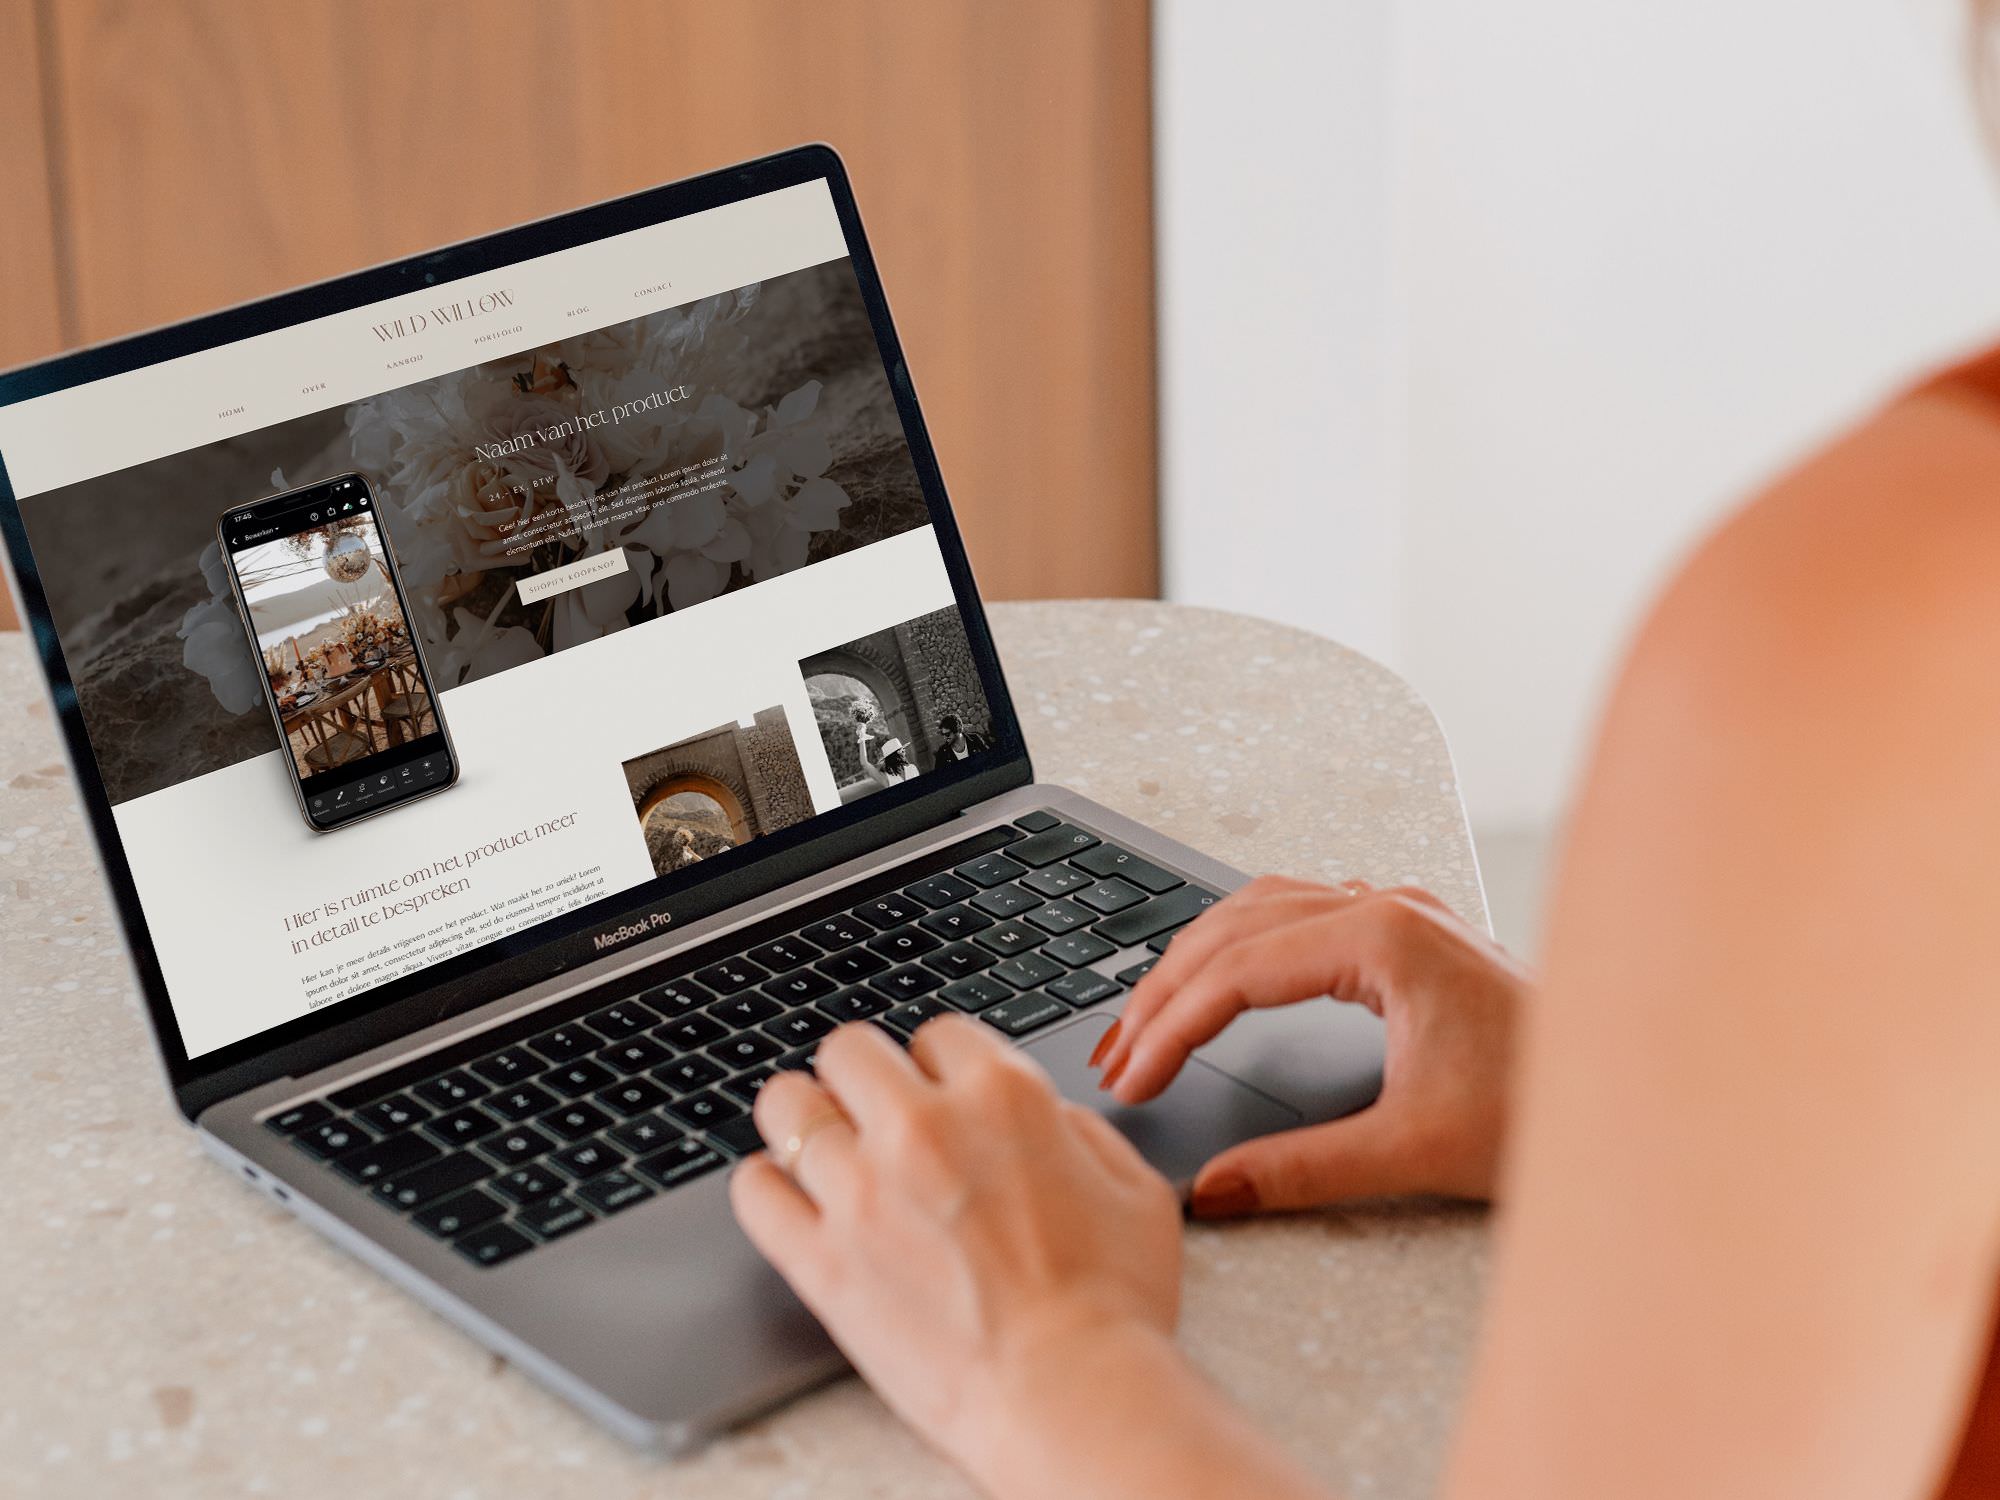
Do you want to add a shop to your Showit website? It’s way easier than you think, especially with Shopify Starter on your side. Whether you’re selling physical goodies, digital treasures, courses or e-books, this guide will get you started in no time!
And if you’re worried about costs, don’t be. The Shopify Starter plan is available for just $5/month!
Adding a webshop to your Showit website is perfect for you if…
You want to have a shop with 20-30 products. Each product needs its own Shopify buy button, so managing around 100 products can get tricky.
If you’re planning on selling more products, consider dedicated e-commerce platforms like Lightspeed or an actual Shopify store, which you can seamlessly link to your Showit site.
Showit + Shopify Starter: how does it work?
In short, you’ll design your webshop in Showit and set up your product list in Shopify Starter. Each item will get its own buy button in Shopify.
Once you’ve crafted a buy button, just copy the automatically generated code and pop it into your Showit website, right where you want it on your shop pages. It’s easy-peasy!
How to add a shop to your Showit website
1. Choose your Showit shop template
Unless you’re a pro at web design in Showit, starting from scratch isn’t the best idea. But don’t worry, I got you covered with Showit webshop templates that seamlessly match my website templates!
EXPLORE WEBSHOP TEMPLATES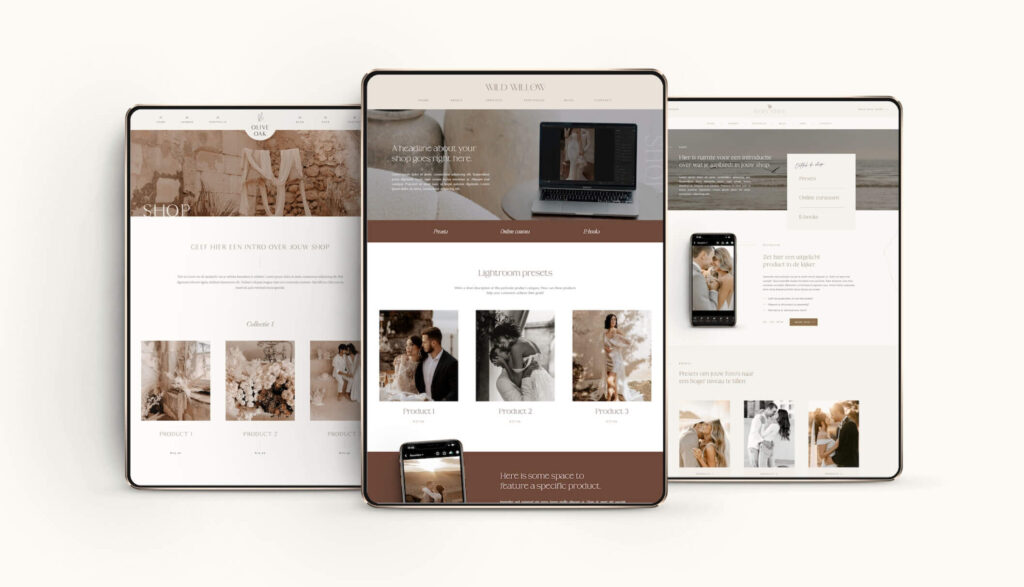
2. Customize your Showit shop pages
Once you snag a Showit webshop template, you’ll get two primary pages:
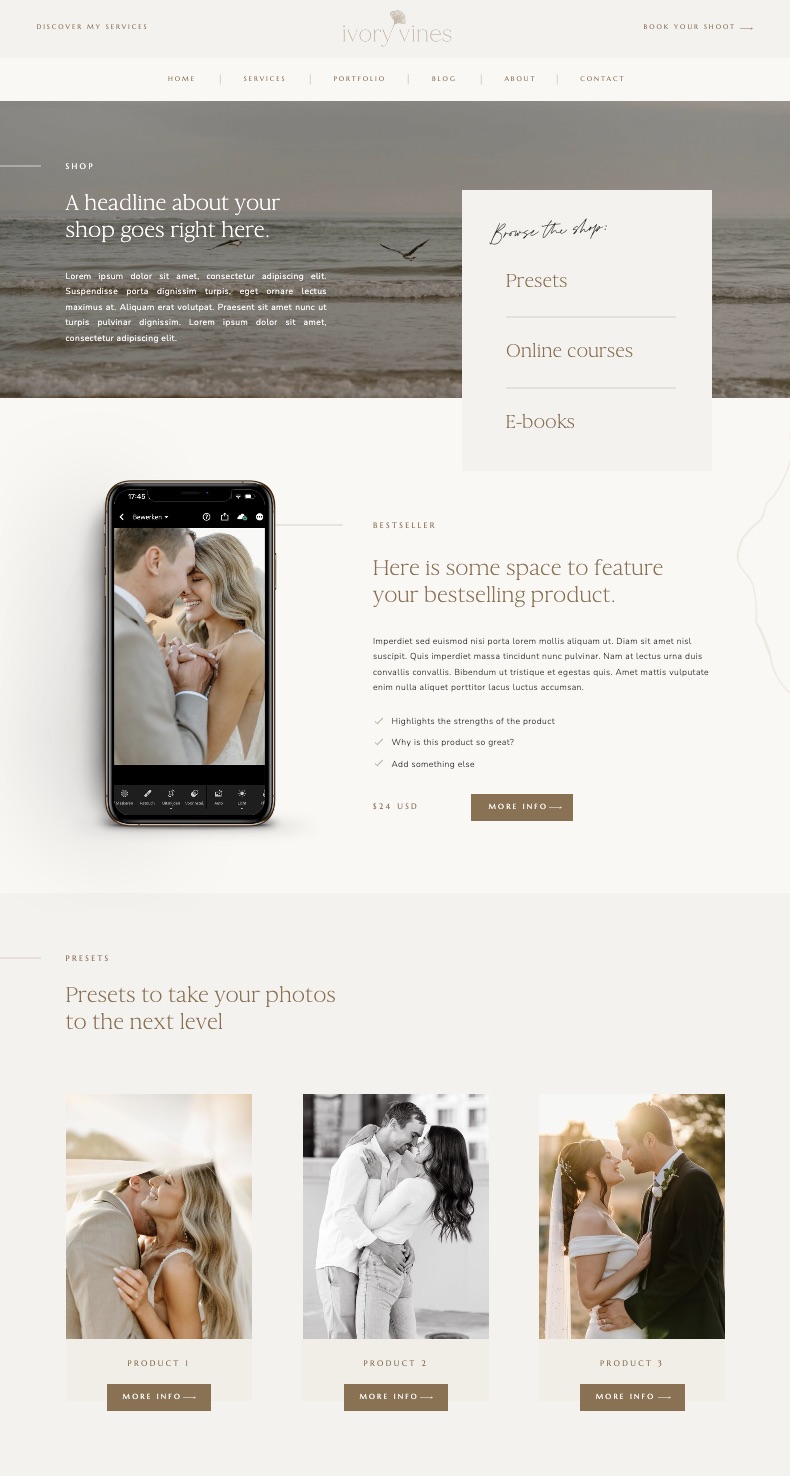
Shop page: on this page, you can show all your products
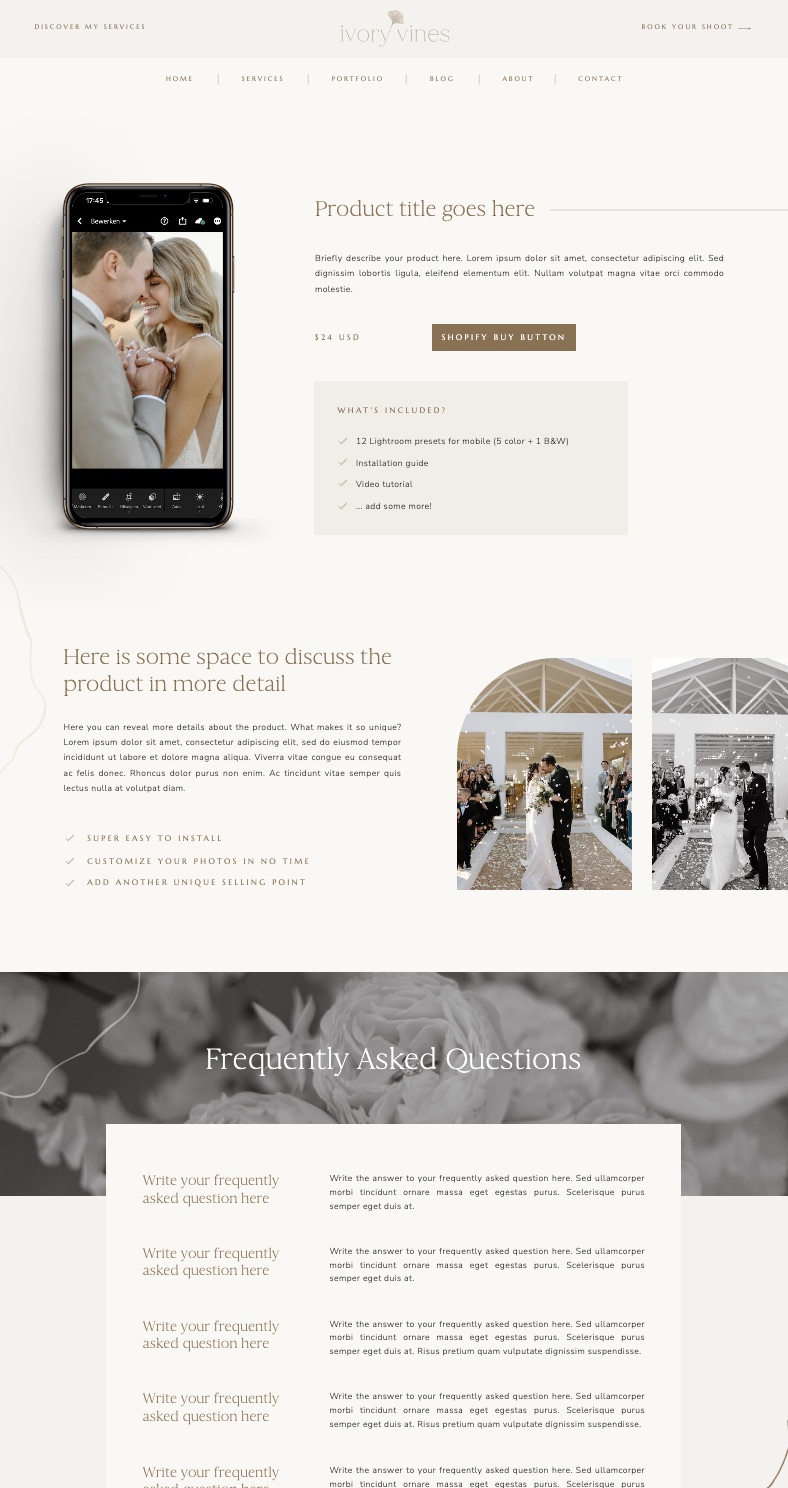
Product page: detail page for each product
Feel free to add photos, prices, and product details. You can customize these pages the way YOU want, thanks to Showit’s drag & drop interface!
Don’t forget:
- To duplicate the product page for each product
- Name product pages smartly for SEO – e.g. ‘boho-preset-autumn-leaves’ – resulting in URLs like ‘…/shop/boho-preset-autumn-leaves’
- Double-check that shop page links lead to the right product pages
- Set up related products and link to the correct pages
3. Setup your Shopify Starter account
Now, head over to create your Shopify Starter account for just $5/month. Add your products, configure payments, shipping (if applicable), etc.
Want to sell digital products? The free Digital Downloads app has your back for downloads post-purchase.
4. Create your Shopify Buy Button
Head over to your Shopify dashboard and look for the sales channels in the bottom left corner. If you don’t see the Buy Button listed, no worries – you can still add it (click on the + icon).
Now, let’s get your buy button set up! Select the Buy Button sales channel, choose the product you want to make a buy button for and start customizing. Here’s what you can tweak:
- The layout style
- Colors
- Size
- Fonts (you can choose from pre-selected fonts in Shopify)
- What happens when someone clicks it
- Whether the checkout pops up in a new browser window
Choose a layout style
Shopify gives you three button styles: basic, classic, and full view.
- Basic buy button: perfect for using on my Showit webshop templates. This layout allows you to customize your product page on your Showit website and just add the button to make a purchase. Plus, this is the best choice for your SEO, as the main keywords remain directly on your website.
- Classic buy button: with this button, you don’t need to add photos, product names, and prices in Showit. Of course, this offers fewer design options.
- Full view: shows all product info but is less SEO-friendly because the text remains in the embed code and not on your actual Showit website. Also, design options are limited.
Buy button actions
When you’re setting actions for your Buy Button, here’s what you can choose:
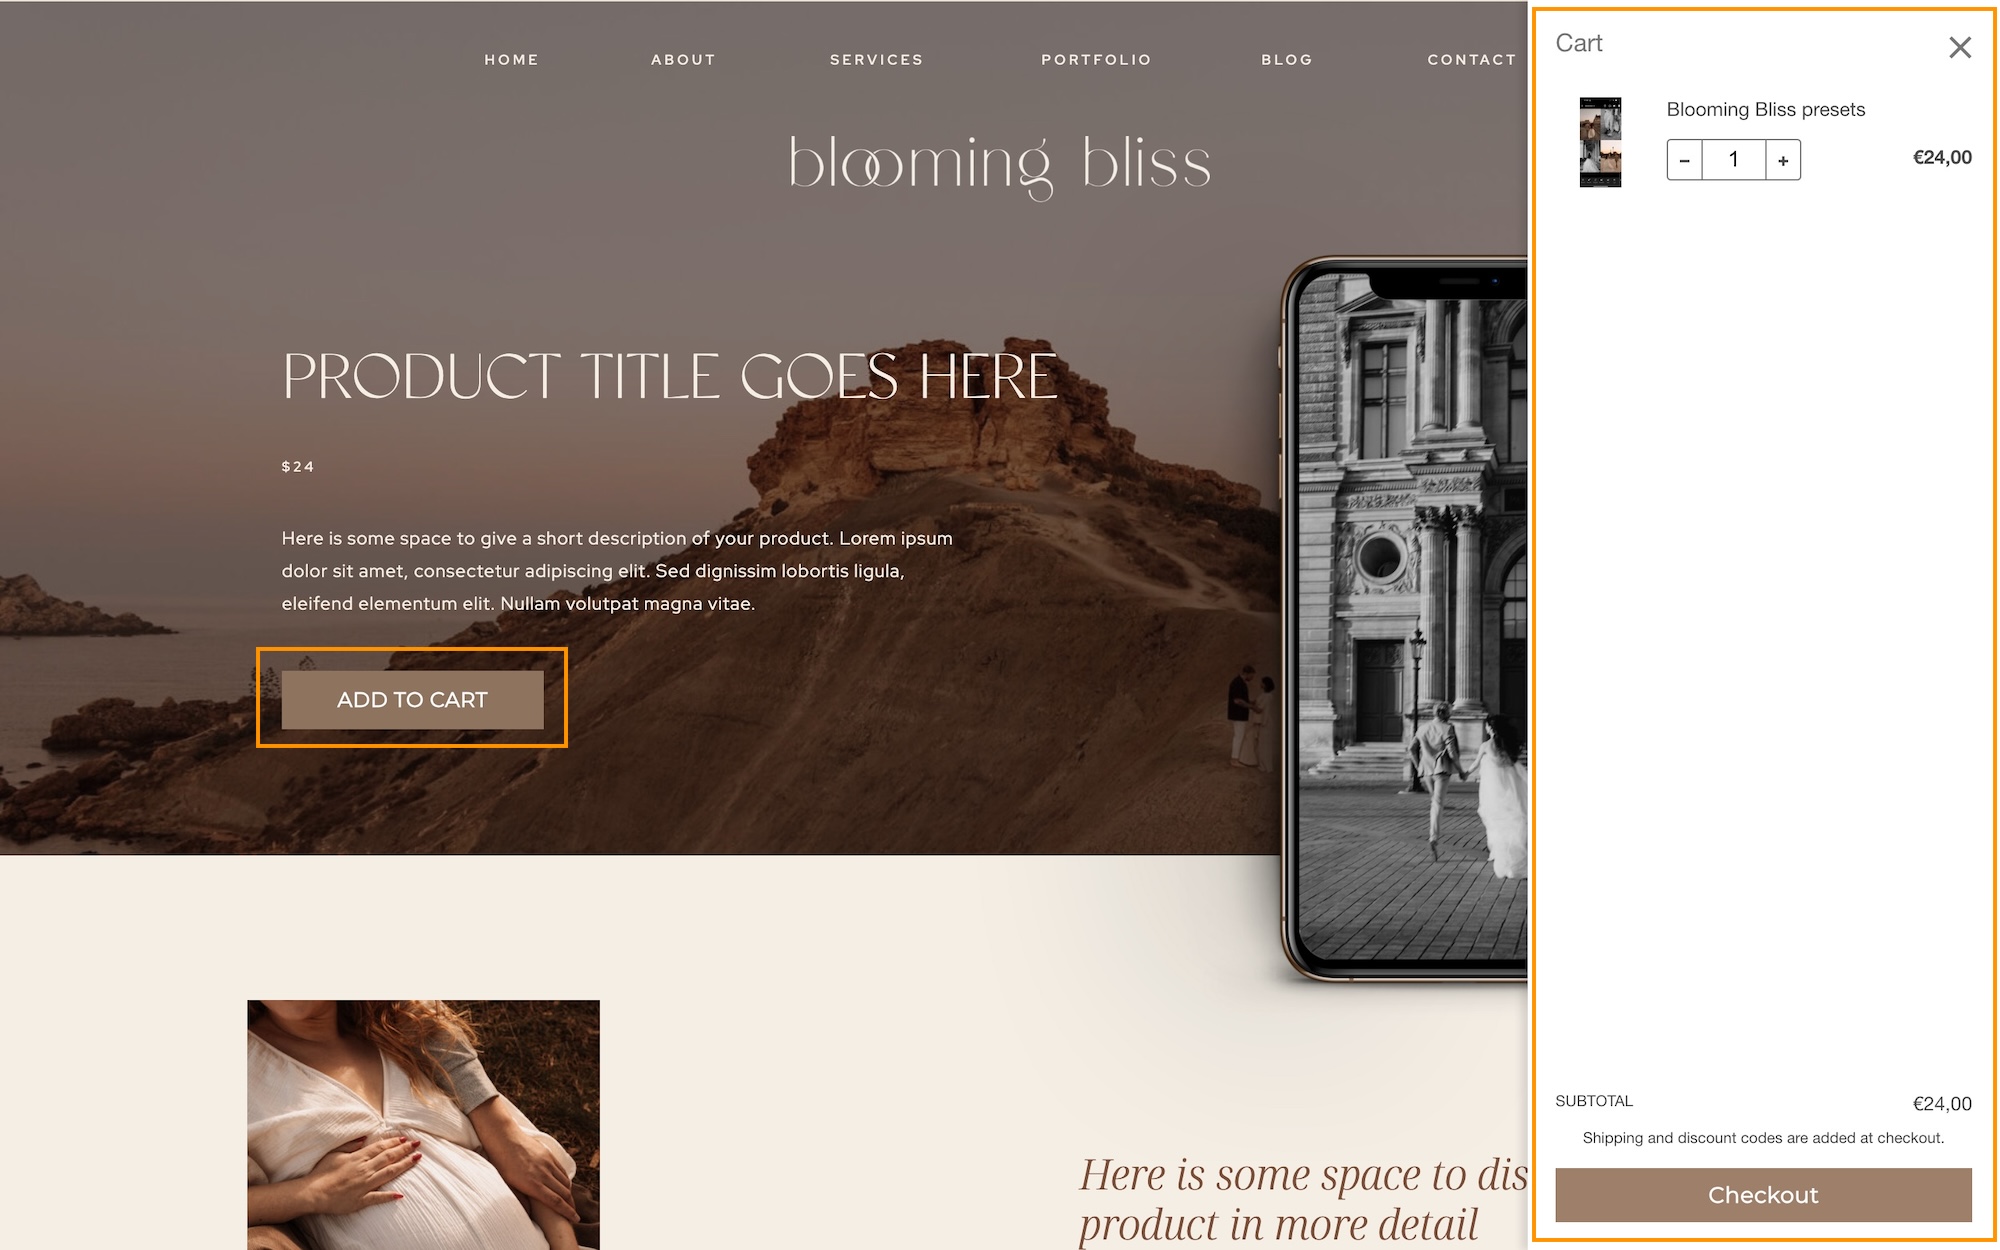
- Add product to cart: adds the product to a shopping cart. Customers can continue shopping and add additional products to the cart.
- Direct to checkout: brings the customer directly to your checkout, where they can purchase the product. Customers aren’t able to add additional products to their order.
- Open product details: when clicking the buy button button, customers can see the product description, select product variants and add the product to the cart.
You can also choose if the checkout opens in a new browser window or if it opens in the same tab as your website (I would advice the same tab option so visitors stay on your Showit website).
Generate code
Once you’ve personalized your buy button, click ‘NEXT’ in the top right corner and copy the code:

5. Adding the Shopify buy button to your Showit website
Go back to Showit and drop the code on the right product page. Simply select ‘Embed code‘ in the Showit dashboard, double-click to paste and boom, your buy button is live! Repeat for all your products, and you’re good to go.
Check your shop preview and watch your button shine. Click it and voilà – a shopping cart pops up, leading smoothly to Shopify checkout with just a click!
A few pro tips
Make a test purchase
It’s super helpful to check everything’s running smoothly by placing a test order or buying from yourself.
Cart visibility: add to every page on your Showit website
When you add an item to your cart on a product page, a cart icon pops up on the right side of your screen. But here’s the catch – it’s only visible on that specific page where the buy button is. Want to keep the cart visible across all pages? Just paste the buy button code into a hidden part of your Showit pages.
Update your site’s navigation
Don’t forget to make your shop easily accessible from your site’s navigation menu (and footer).
Ever wondered what tools I rely on daily to keep my website, marketing and workflow running smoothly? I've put together a list just for you so you can spend more time doing what you truly love!
My favorite tools & resources for creatives
Read more ...
