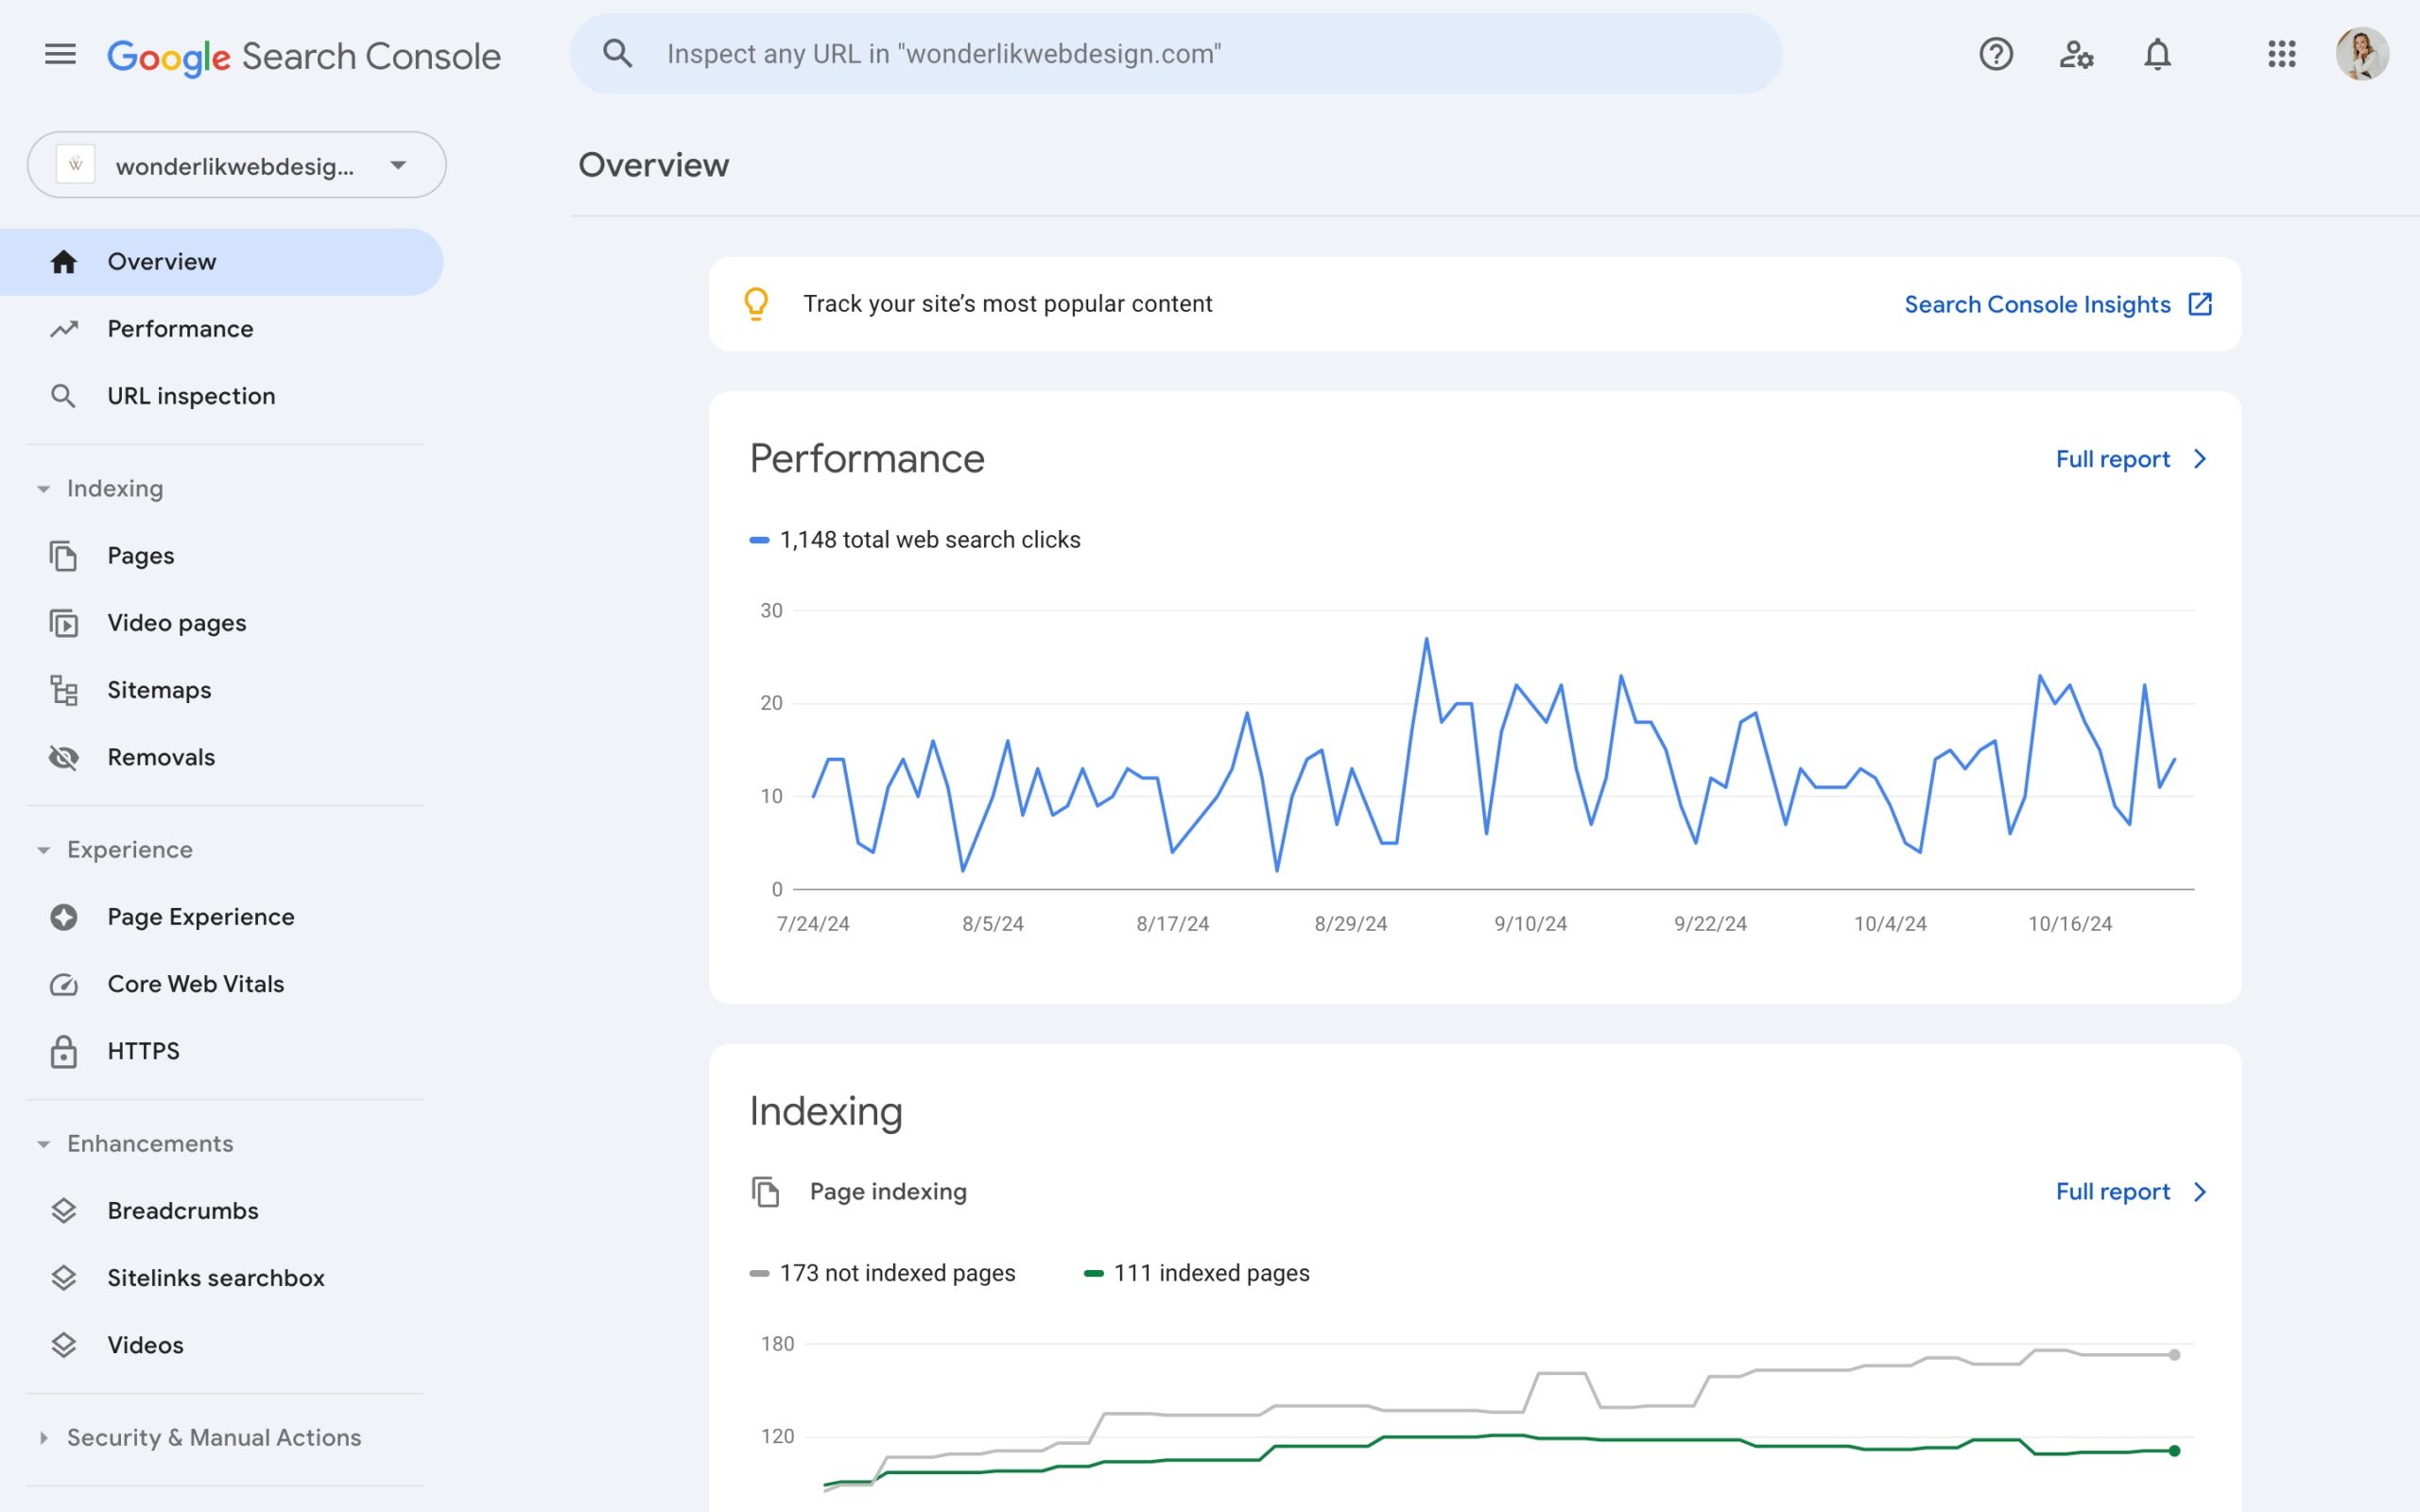
Just launched a shiny new website or made some updates? Of course, you want Google to notice!
In this post, we’ll walk you through how to give Google a nudge to find your site by submitting a sitemap to Google Search Console. If you’re thinking, “A site what now?!” don’t fret. It’s easier than you think. Let’s dive in!
What is a sitemap?
Think of a sitemap like a book’s table of contents but for your website. It’s simply a list of all your site’s pages.
Google and other search engines use these maps to understand your website, giving it a chance to appear in search results. To ensure Google catches every page, it’s a great idea to submit your sitemap directly to Google Search Console.
What is Google Search Console?
Google Search Console is your free ticket to managing how your site shows up on Google. It’s a great tool for boosting SEO!
With Google Search Console, you can:
- Submit your sitemap
- Check how well your site’s keywords perform
- Discover who links to your site
- Block certain pages from Google
- Diagnose page errors
- …and more!
To start using Google Search Console, you’ll need a Google account. Don’t have one yet? Create your account here.

Why should you add a sitemap to Google Search Console?
Every day, Googlebot crawls the web, mapping sites and ranking them in search results. It often finds sites through links on other websites.
If your site’s new or if your pages aren’t linked all over the web, Googlebot might miss your site. The solution? Add your sitemap to Google Search Console. This tells Google that your site is out there and helps it understand your site’s layout.
💡 Pro tip: when you update your website, it’s a good idea to resubmit your sitemap since Google may not notice right away. Ensuring Google sees the updates keeps everything fresh.
Where can I find my sitemap?
Showit sitemap
With Showit, your sitemap is automatically generated when you publish your site. Just use this URL:
WordPress sitemap
If you have a WordPress site, you can use the Yoast SEO plugin to generate your sitemap. For those with a Showit site + blog, use Yoast SEO to create a sitemap for your blog posts too. You’ll need to submit both: one for Showit (your web pages) and one for your blog posts.
If Yoast SEO isn’t on your site yet, make sure to add the plugin first. Next, follow these steps:
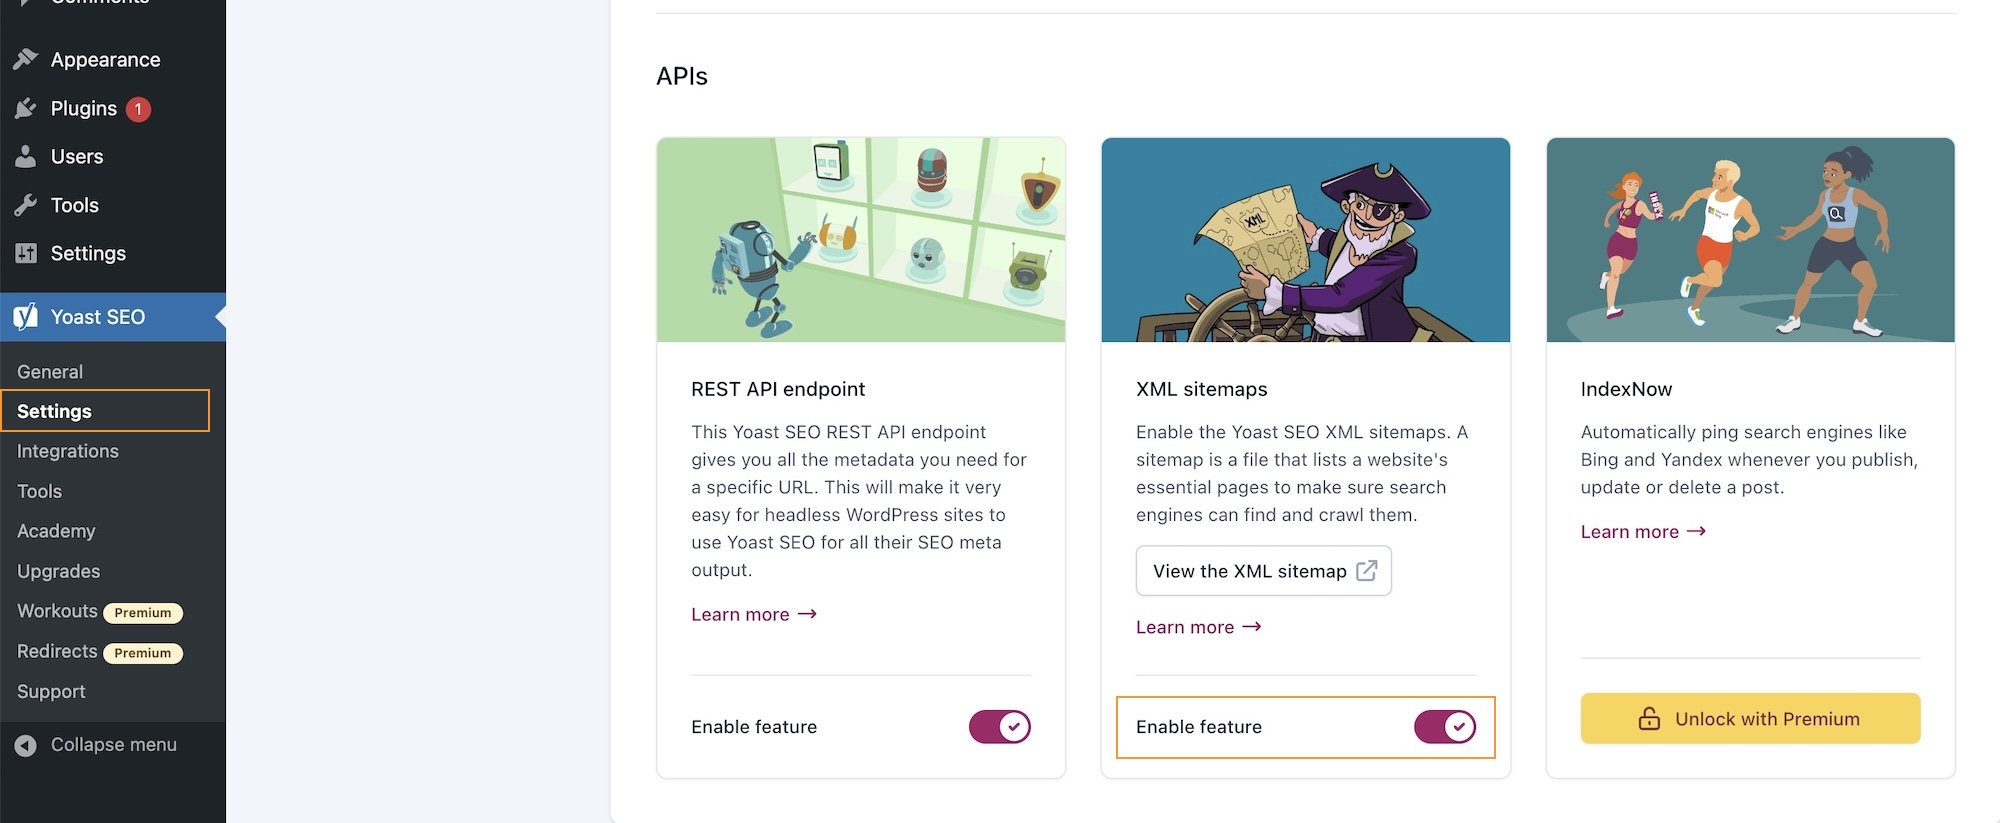
- Go to Yoast SEO → Settings
- Scroll down until you see XML Sitemaps and make sure it’s enabled

- Click on ‘View the XML sitemap’ and copy that URL! It should look something like this:
P.S. Yoast SEO is fantastic for optimizing your blog posts for SEO. You can read all about that in this blog post!
Adding your sitemap to Google Search Console
Now that you’ve got your sitemaps, let’s submit them to Google. Head over to Google Search Console and follow these steps:
- Log in and add your site as a property. Verify your site ownership using your preferred method.
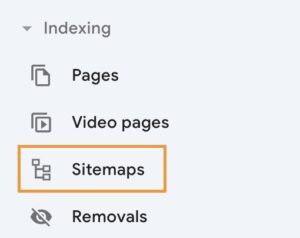
- Next, click on ‘Sitemaps’ in the left menu

- Paste the URL of your sitemap and click on ‘Submit’. If you have a Showit website with a WordPress blog, don’t forget to repeat this step for both sitemaps (Showit + Yoast SEO sitemap)
That’s it! Within a few days, you’ll see if Google has indexed your sitemaps. Now Google has a clear map of all your website pages!
Ever wondered what tools I rely on daily to keep my website, marketing and workflow running smoothly? I've put together a list just for you so you can spend more time doing what you truly love!
My favorite tools & resources for creatives
Read more ...
